The gap between café espresso and the first shots from a home machine is wide, and it is disheartening. The usual reaction is to assume the machine is not good enough. Nine times out of ten the machine is fine and the grind is wrong, and that is a much cheaper problem to have.
What you actually need
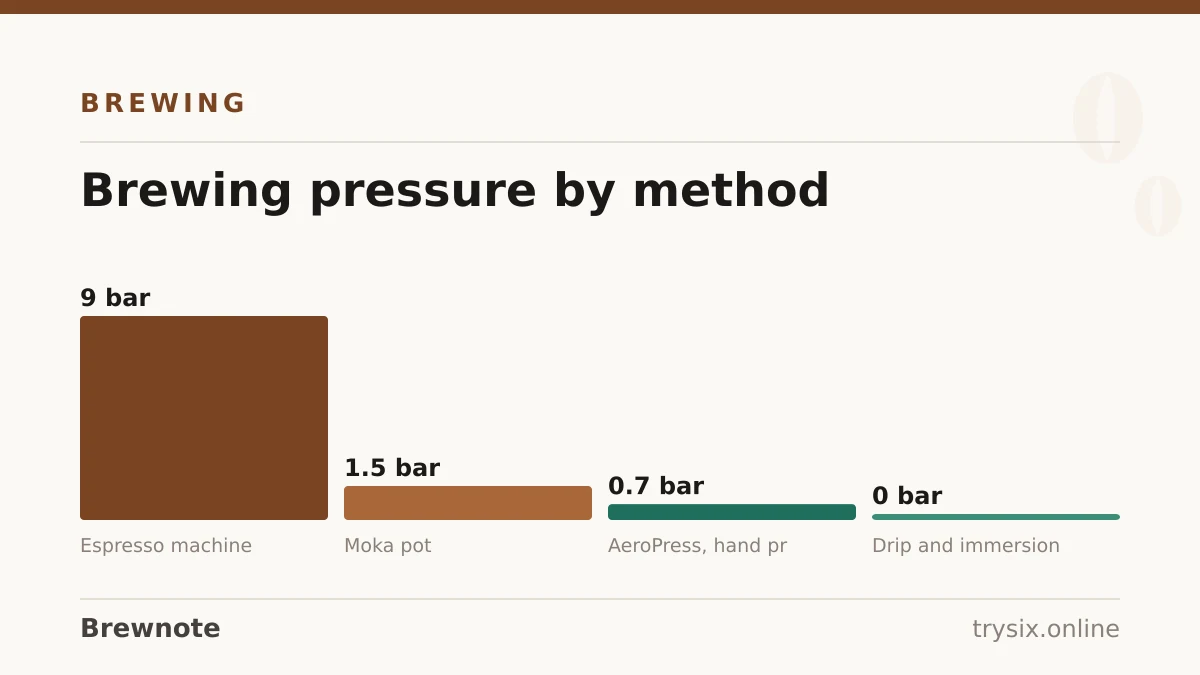
Espresso is defined by pressure — around 9 bar, roughly nine times atmospheric. That requires a pump, which is the line between an espresso machine and everything else in a kitchen. No amount of technique gets a French press to 9 bar.
| Item | Why it matters | Consequence of skimping |
|---|---|---|
| Pump espresso machine | Generates and holds ~9 bar | No espresso; a different drink |
| Burr grinder, espresso-capable | Fine, even, adjustable grind | Cannot dial in; every shot is a guess |
| Scale reading to 0.1 g | Measures dose and yield | Ratio drifts; shots are irreproducible |
| Tamper matching the basket | Even, level compression | Channelling; sour and bitter at once |
| Timer | The third of the three numbers | No way to diagnose a bad shot |
The recipe
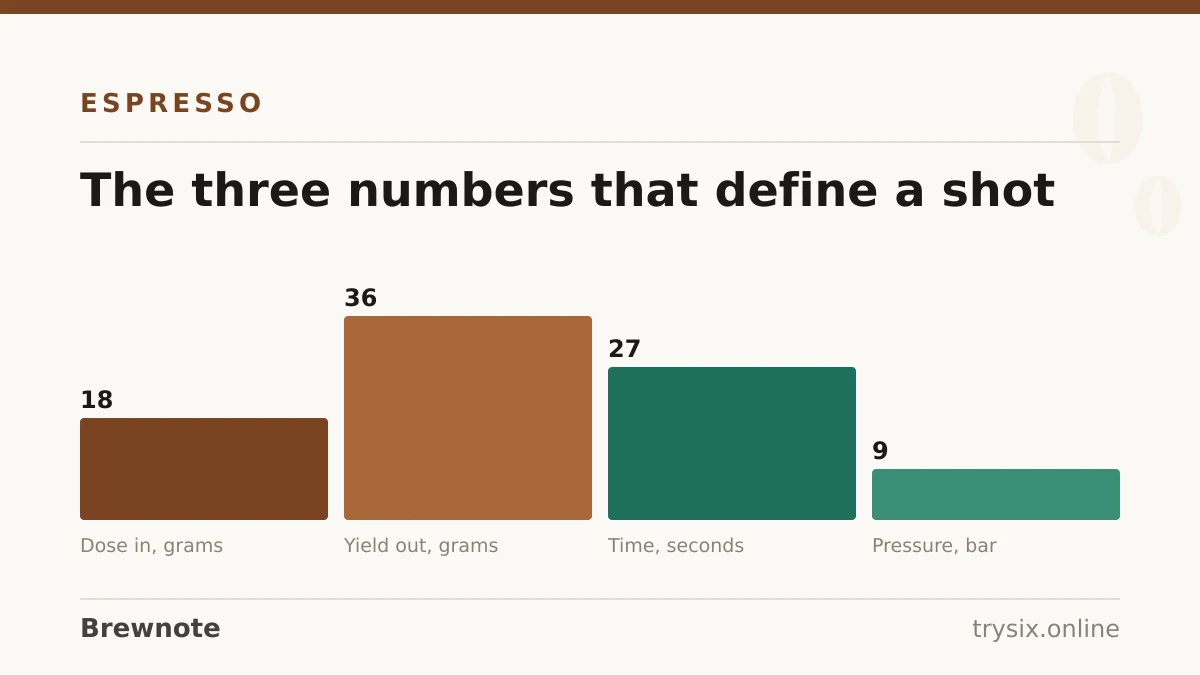
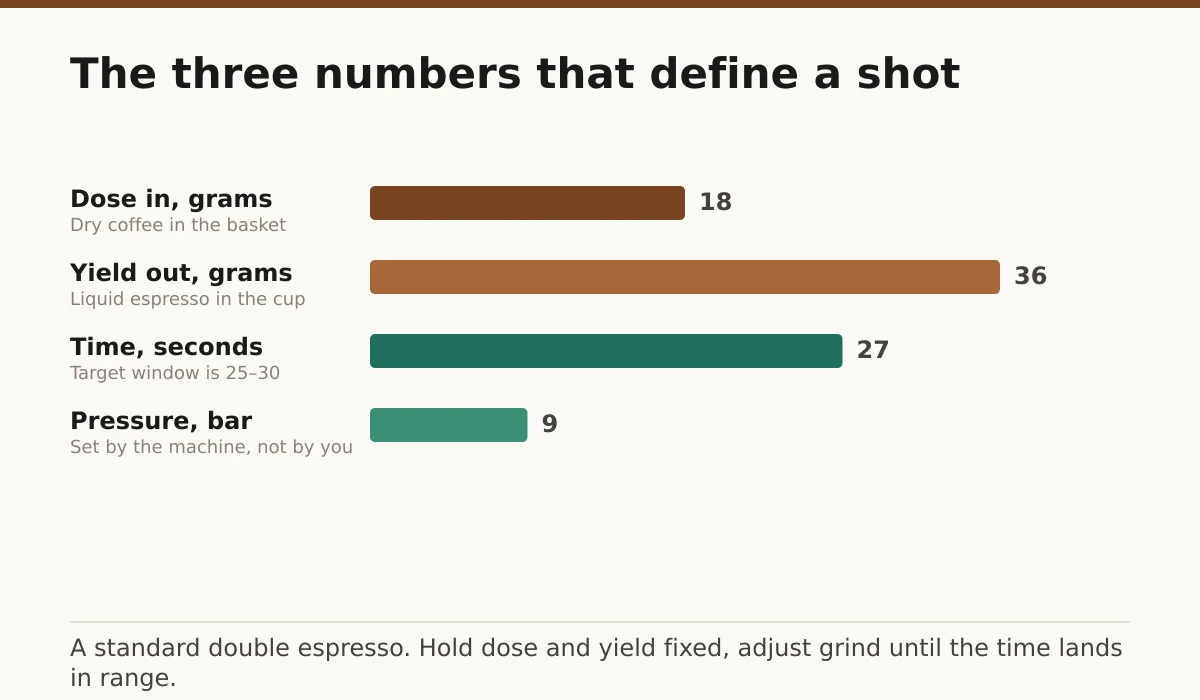
Espresso recipes are written as three numbers: dose in, yield out, time. A standard double is 18 g in, 36 g out, in 25 to 30 seconds — a 1:2 ratio. Every adjustment you make is in service of hitting that.
Pulling a double shot
Step 1: Weigh 18 g
Into the portafilter basket, ground fine — the texture of table salt, slightly powdery. Check what your basket is rated for; some are 20 g, some 14 g, and overfilling is a common cause of bad shots.
Step 2: Distribute before you tamp
Tap the side or use a distribution tool to level the bed. This matters more than tamp pressure: an uneven bed lets water find a fast path through, and the coffee either side of that path is barely extracted.
Step 3: Tamp level, about 15 kg
Press straight down until the puck stops compressing. Level is the goal; a tilted tamp is worse than a light one. Once the bed is compressed further pressure changes almost nothing.
Step 4: Purge and lock in
Run the group head for a second to clear old grounds and stabilise temperature, then lock the portafilter in and start immediately. Ground coffee sitting in a hot group head begins to cook.
Step 5: Pull to 36 g, watching the clock
Start the timer and the pump together. The first drops should appear at 5 to 10 seconds. Stop at 36 g in the cup, and note the time it took.
Step 6: Taste, then change one thing
Under 25 seconds and sour: grind finer. Over 30 and bitter: grind coarser. Change grind alone and keep dose and yield fixed, or you will not know what fixed it.
Diagnosing shots
| What happened | Cause | Change |
|---|---|---|
| Ran in 12 seconds; thin, sour | Grind too coarse | Grind finer |
| Took 45 seconds; dark, bitter | Grind too fine | Grind coarser |
| Sprayed sideways or dripped unevenly | Channelling from an uneven bed | Distribute better before tamping |
| No crema at all | Stale beans, or too coarse | Check roast date; grind finer |
| Blonde and watery at the end | Yield too high | Stop at 36 g, not by eye |
| Sour and bitter simultaneously | Uneven extraction | Distribution, not grind |
That last row catches people out. Sour and bitter together is not a grind problem — it is water passing quickly through one part of the puck (under-extracting it, hence sour) and slowly through another (over-extracting it, hence bitter). No grind setting fixes an uneven bed. The same distinction applies to any brew method, as how to make the perfect cup of coffee explains.
Research has moved on from the traditional recipe
Work published in Matter in 2020 modelled espresso extraction mathematically and tested it experimentally, and found that the conventional approach — fine grind, high dose — produces less reproducible shots than expected, because very fine grinds promote channelling. The authors found that reducing dose and coarsening the grind gave more consistent results while using less coffee.
Reducing the mass of coffee and coarsening the grind can produce more reproducible shots at lower cost than the traditional recipe.
— Cameron et al., Matter (2020)
The practical takeaway is not to abandon 18-in-36-out, which works. It is that the numbers are a convention rather than a physical optimum, and if your shots are inconsistent, going slightly coarser with a slightly smaller dose is a legitimate experiment rather than a mistake.
Without an espresso machine
These devices make strong, concentrated coffee that works well in milk drinks. None of them is espresso, and being clear about that saves a lot of disappointment.
| Device | Pressure | What it makes | Good for |
|---|---|---|---|
| Moka pot | ~1.5 bar | Strong concentrated coffee | Milk drinks; low cost |
| AeroPress | Under 1 bar | Strong filtered coffee | Travel; clean cup |
| Manual lever press | Can reach 6–9 bar | Genuine espresso, with effort | Enthusiasts; no electricity |
| Steam-toy machine | 1–2 bar | Weak, hot, foamy coffee | Very little |
The moka pot is the best value of these by a wide margin, and how to make coffee on the stove covers the technique in full — including why you should never tamp the basket. The steam-driven machines sold as budget espresso makers are the one category worth avoiding; they cannot reach brewing pressure and produce a bitter, weak result.
Milk drinks from here
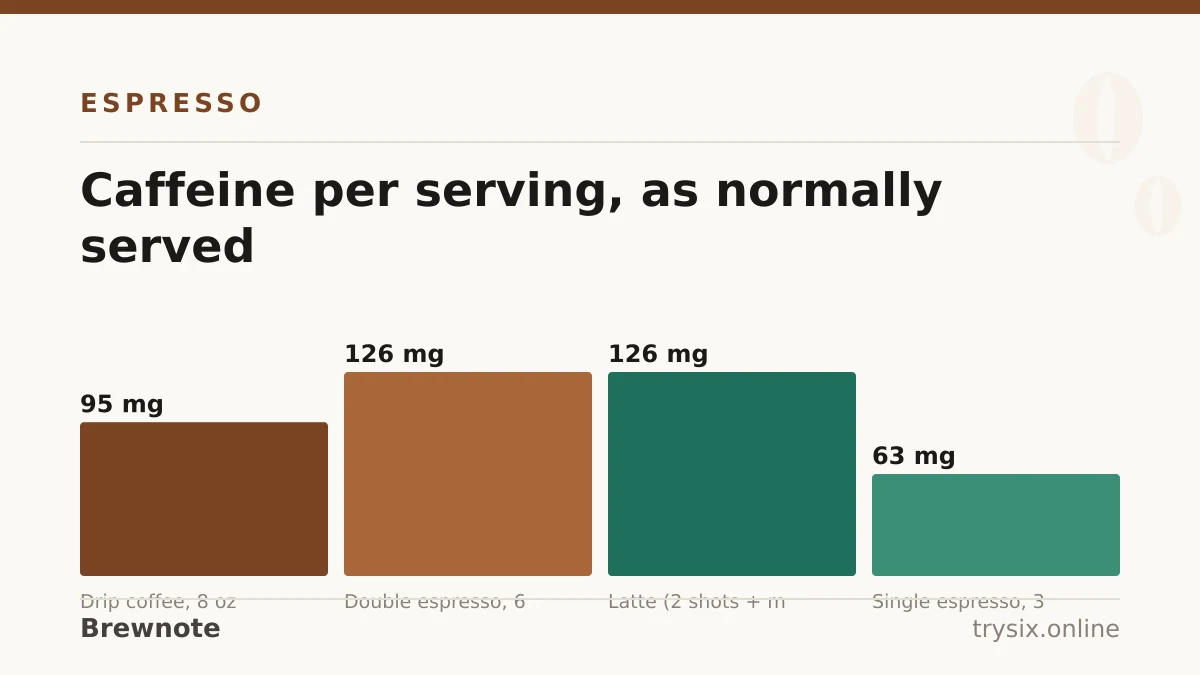
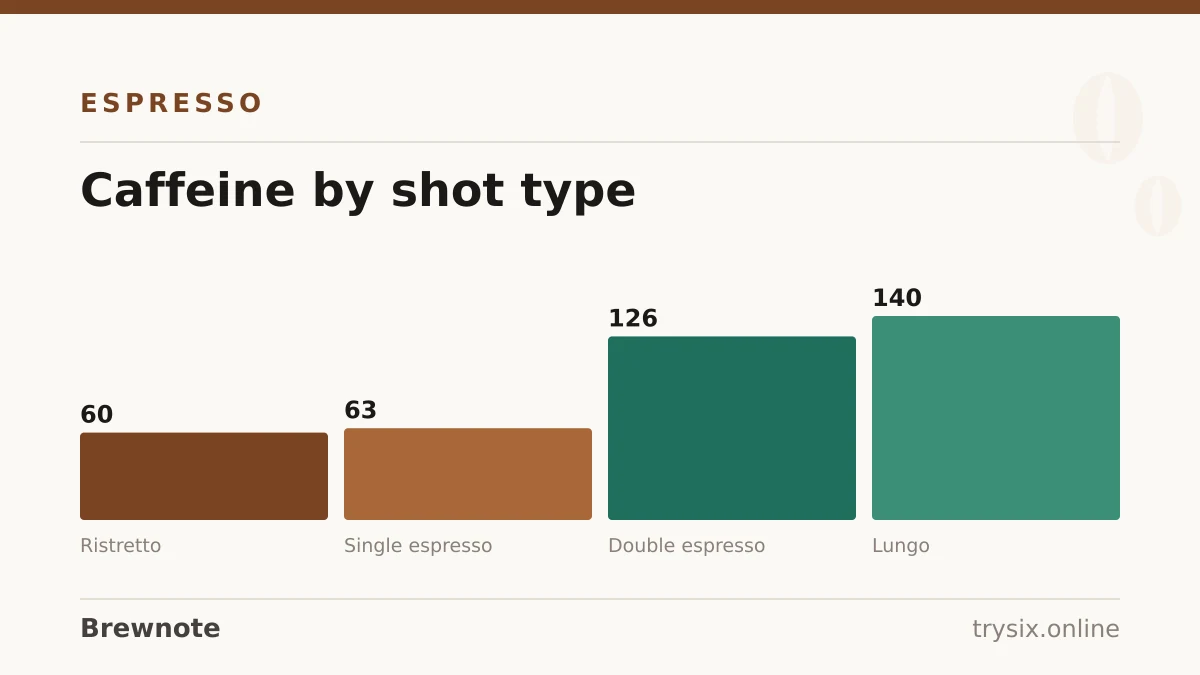
Once you can pull a repeatable shot, every café drink is that shot plus a measured amount of milk. A cortado is one shot with an equal volume of steamed milk; a flat white is two shots with about 120 ml; a latte is two shots with 200 ml or more. The full set of ratios is in types of coffee drinks, and what is an espresso shot covers singles, doubles, ristrettos and lungos.