Roasting your own coffee sounds like something that needs a workshop and serious equipment. It needs a pan and an open window. It will not beat a good professional roaster, and it is worth being honest about that up front — but it costs a fraction as much, and you choose exactly how far each batch goes.
Before you start
You need green coffee beans, which many roasters and online suppliers sell. They keep far longer than roasted coffee — a year or more stored cool and dry — so buying a few kilos is reasonable. Start with a washed Latin American coffee: they are forgiving and give clear feedback about whether you got it right.
| Method | Batch | Time | Control | Downside |
|---|---|---|---|---|
| Heavy pan or wok | 100–200 g | 10–15 min | Low | Uneven; constant stirring |
| Air popper | 60–100 g | 4–7 min | Medium | Small batches; wears out |
| Oven on a tray | 200–400 g | 12–20 min | Very low | Poor airflow; uneven results |
| Dedicated home roaster | 100–500 g | 8–15 min | High | Cost |
What happens inside the bean
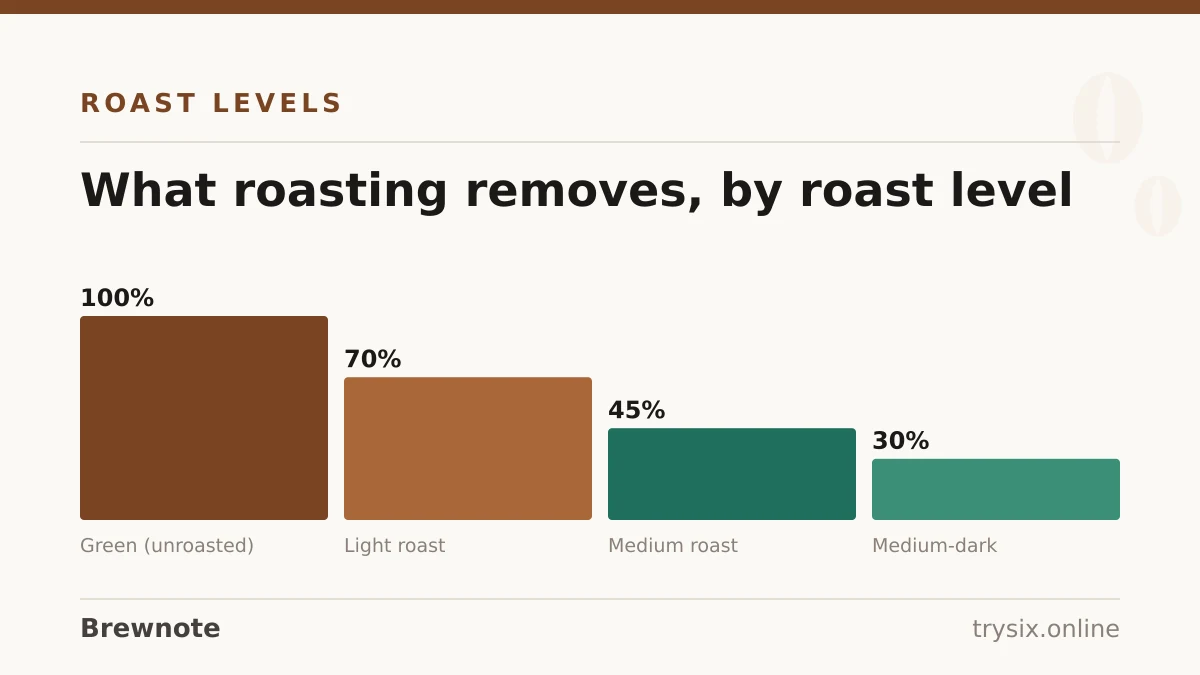
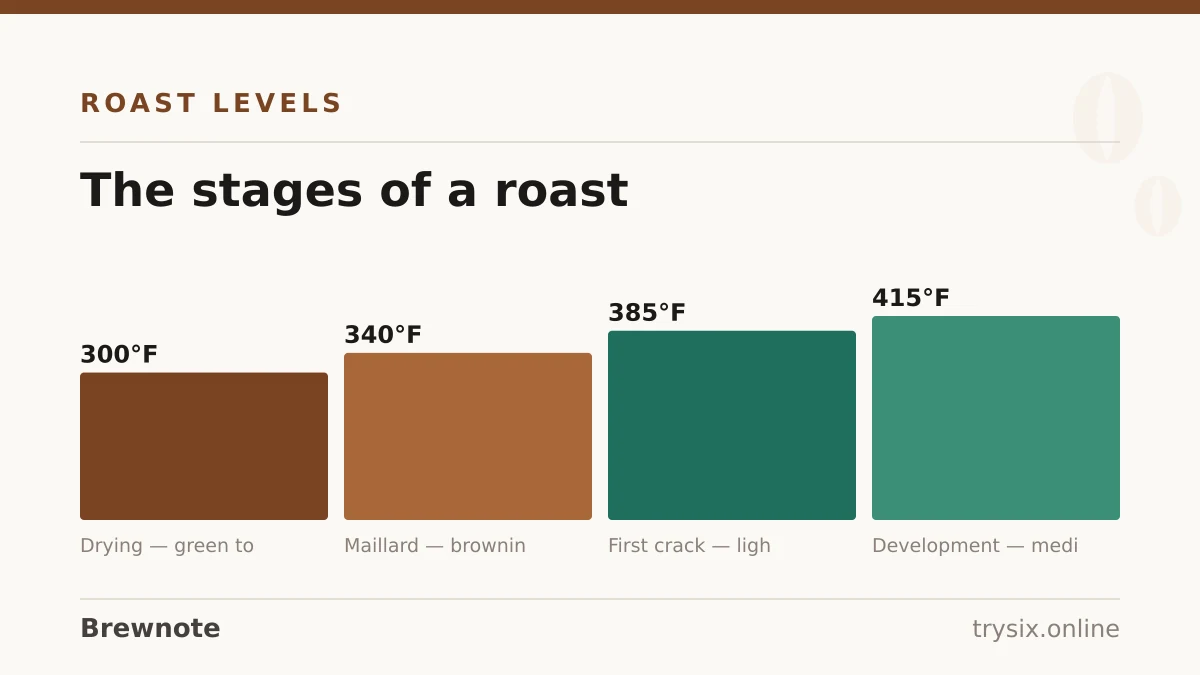
Roasting runs through recognisable stages. First the beans dry out, turning from green to yellow and smelling of hay. Then the Maillard reaction begins and they brown, smelling of bread. Then first crack — moisture flashing to steam, popping the structure open. Beyond that, caramelisation and eventually carbonisation, with second crack marking oils being forced to the surface.
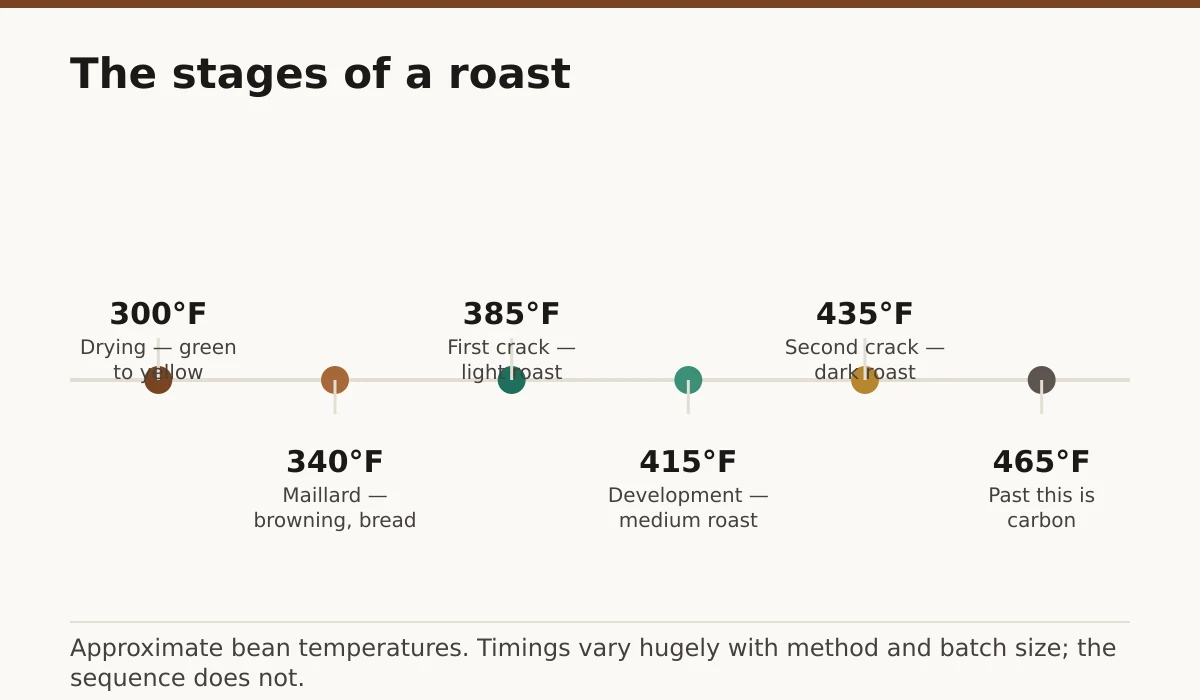
The window between first and second crack is where nearly all the decisions live. Drop shortly after first crack for a light roast; carry on to second for a dark one.
Roasting in a pan
Pan roasting, 150 g
Step 1: Heat a heavy pan over medium
Cast iron or a thick-based stainless pan. No oil. Let it come up to temperature before the beans go in — a cold pan gives you a slow, baked roast that tastes flat.
Step 2: Add the beans in a single layer
150 g in a 26 cm pan is about right. Piling them deeper means the bottom layer scorches while the top stays raw.
Step 3: Stir constantly
Genuinely constantly, with a wooden spoon. This is the entire technique. Beans that sit still develop dark patches and the roast becomes uneven, which tastes like bitterness and sourness at once.
Step 4: Listen from about 6 minutes
You will hear first crack — irregular, quiet pops, like popcorn heard through a wall. The beans will be light brown. From here, every 30 seconds noticeably darkens the roast.
Step 5: Drop when you want to
Just after first crack for a light roast. Two to three minutes on for medium. Second crack — sharper, faster, more like breaking twigs — for dark. Do not go far past second crack; the margin between dark roast and charcoal is under a minute.
Step 6: Cool fast
Tip into a metal colander and toss in front of a fan, or pass between two colanders outdoors. Beans hold enough heat to keep roasting themselves for a minute or more, so this step is part of the roast, not cleanup.
Air popper and oven
An air popper is the best cheap option because it moves the beans for you with hot air, which gives far more even results than a pan. Use a side-vented model, run it over a bowl to catch chaff, and expect 4 to 7 minutes to first crack with 60 to 100 g. It will shorten the popper's life; they are inexpensive.
The oven is the weakest method. Airflow is poor and heat is indirect, so the beans bake as much as roast, giving a flat cup. If you try it: single layer on a perforated tray at 450°F, shake every two minutes, expect first crack at 12 to 15 minutes and a noticeably uneven result.
| Method | First crack at | Evenness | Best for |
|---|---|---|---|
| Pan | 6–9 min | Poor to fair | Trying it once with no purchase |
| Air popper | 4–7 min | Good | Regular home roasting on a budget |
| Oven | 12–15 min | Poor | Not recommended |
| Drum roaster | 8–12 min | Very good | Anyone doing this weekly |
Resting, and why fresh is not best
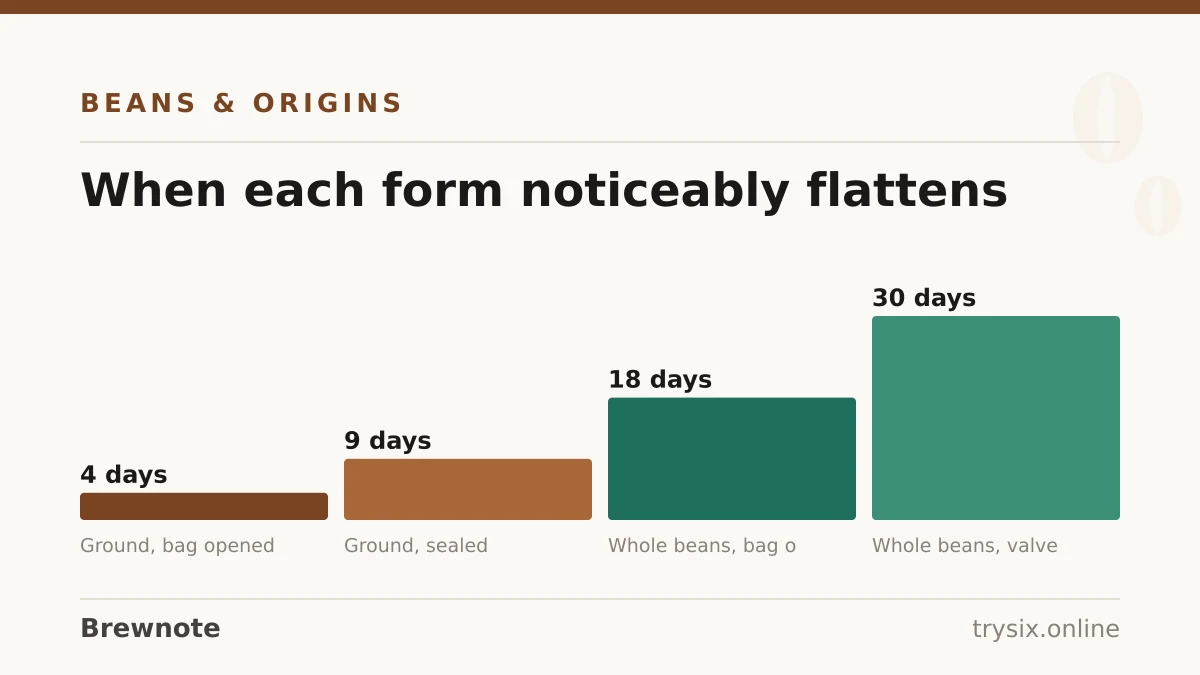
Roasting produces a large volume of carbon dioxide inside the bean, and it escapes over the following days. Coffee brewed within a few hours of roasting foams aggressively, extracts unevenly and tastes closed and flat — the gas physically interferes with water reaching the coffee.
- Espresso: rest 7 to 14 days. Under-rested coffee makes shots gush and taste hollow.
- Filter and immersion: 3 to 10 days is a reasonable window; some light roasts improve past two weeks.
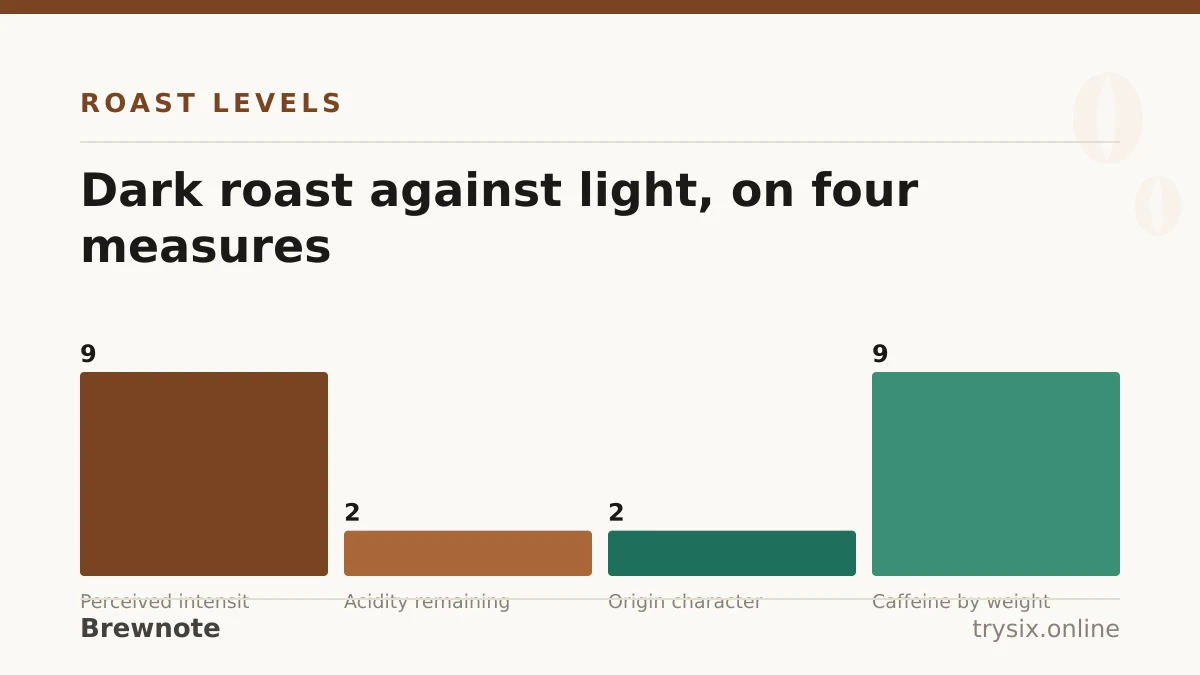
- Dark roasts degas faster and peak sooner, then fade faster — their surface oils oxidise.
- Store in a container with a one-way valve, or leave the lid slightly loose for the first day.
Judging what you made
Roast into a brew you know. Use the same grinder setting, ratio and method you always use, and compare against a bought bag of similar roast level. Uneven roasting tastes like sourness and bitterness together — the same signature as a badly channelled espresso or a blade-ground brew, and the same underlying cause: some of the coffee extracted more than the rest.
Once you have a roast you like, weigh everything and write it down: green weight, drop time, time to first crack, time after. Roasting is repeatable only if you record it. From there, the brewing variables are the same as always — how to grind coffee beans and how to make the perfect cup of coffee cover them.